AI-Powered Video Scene Captioning app by Michael Wen
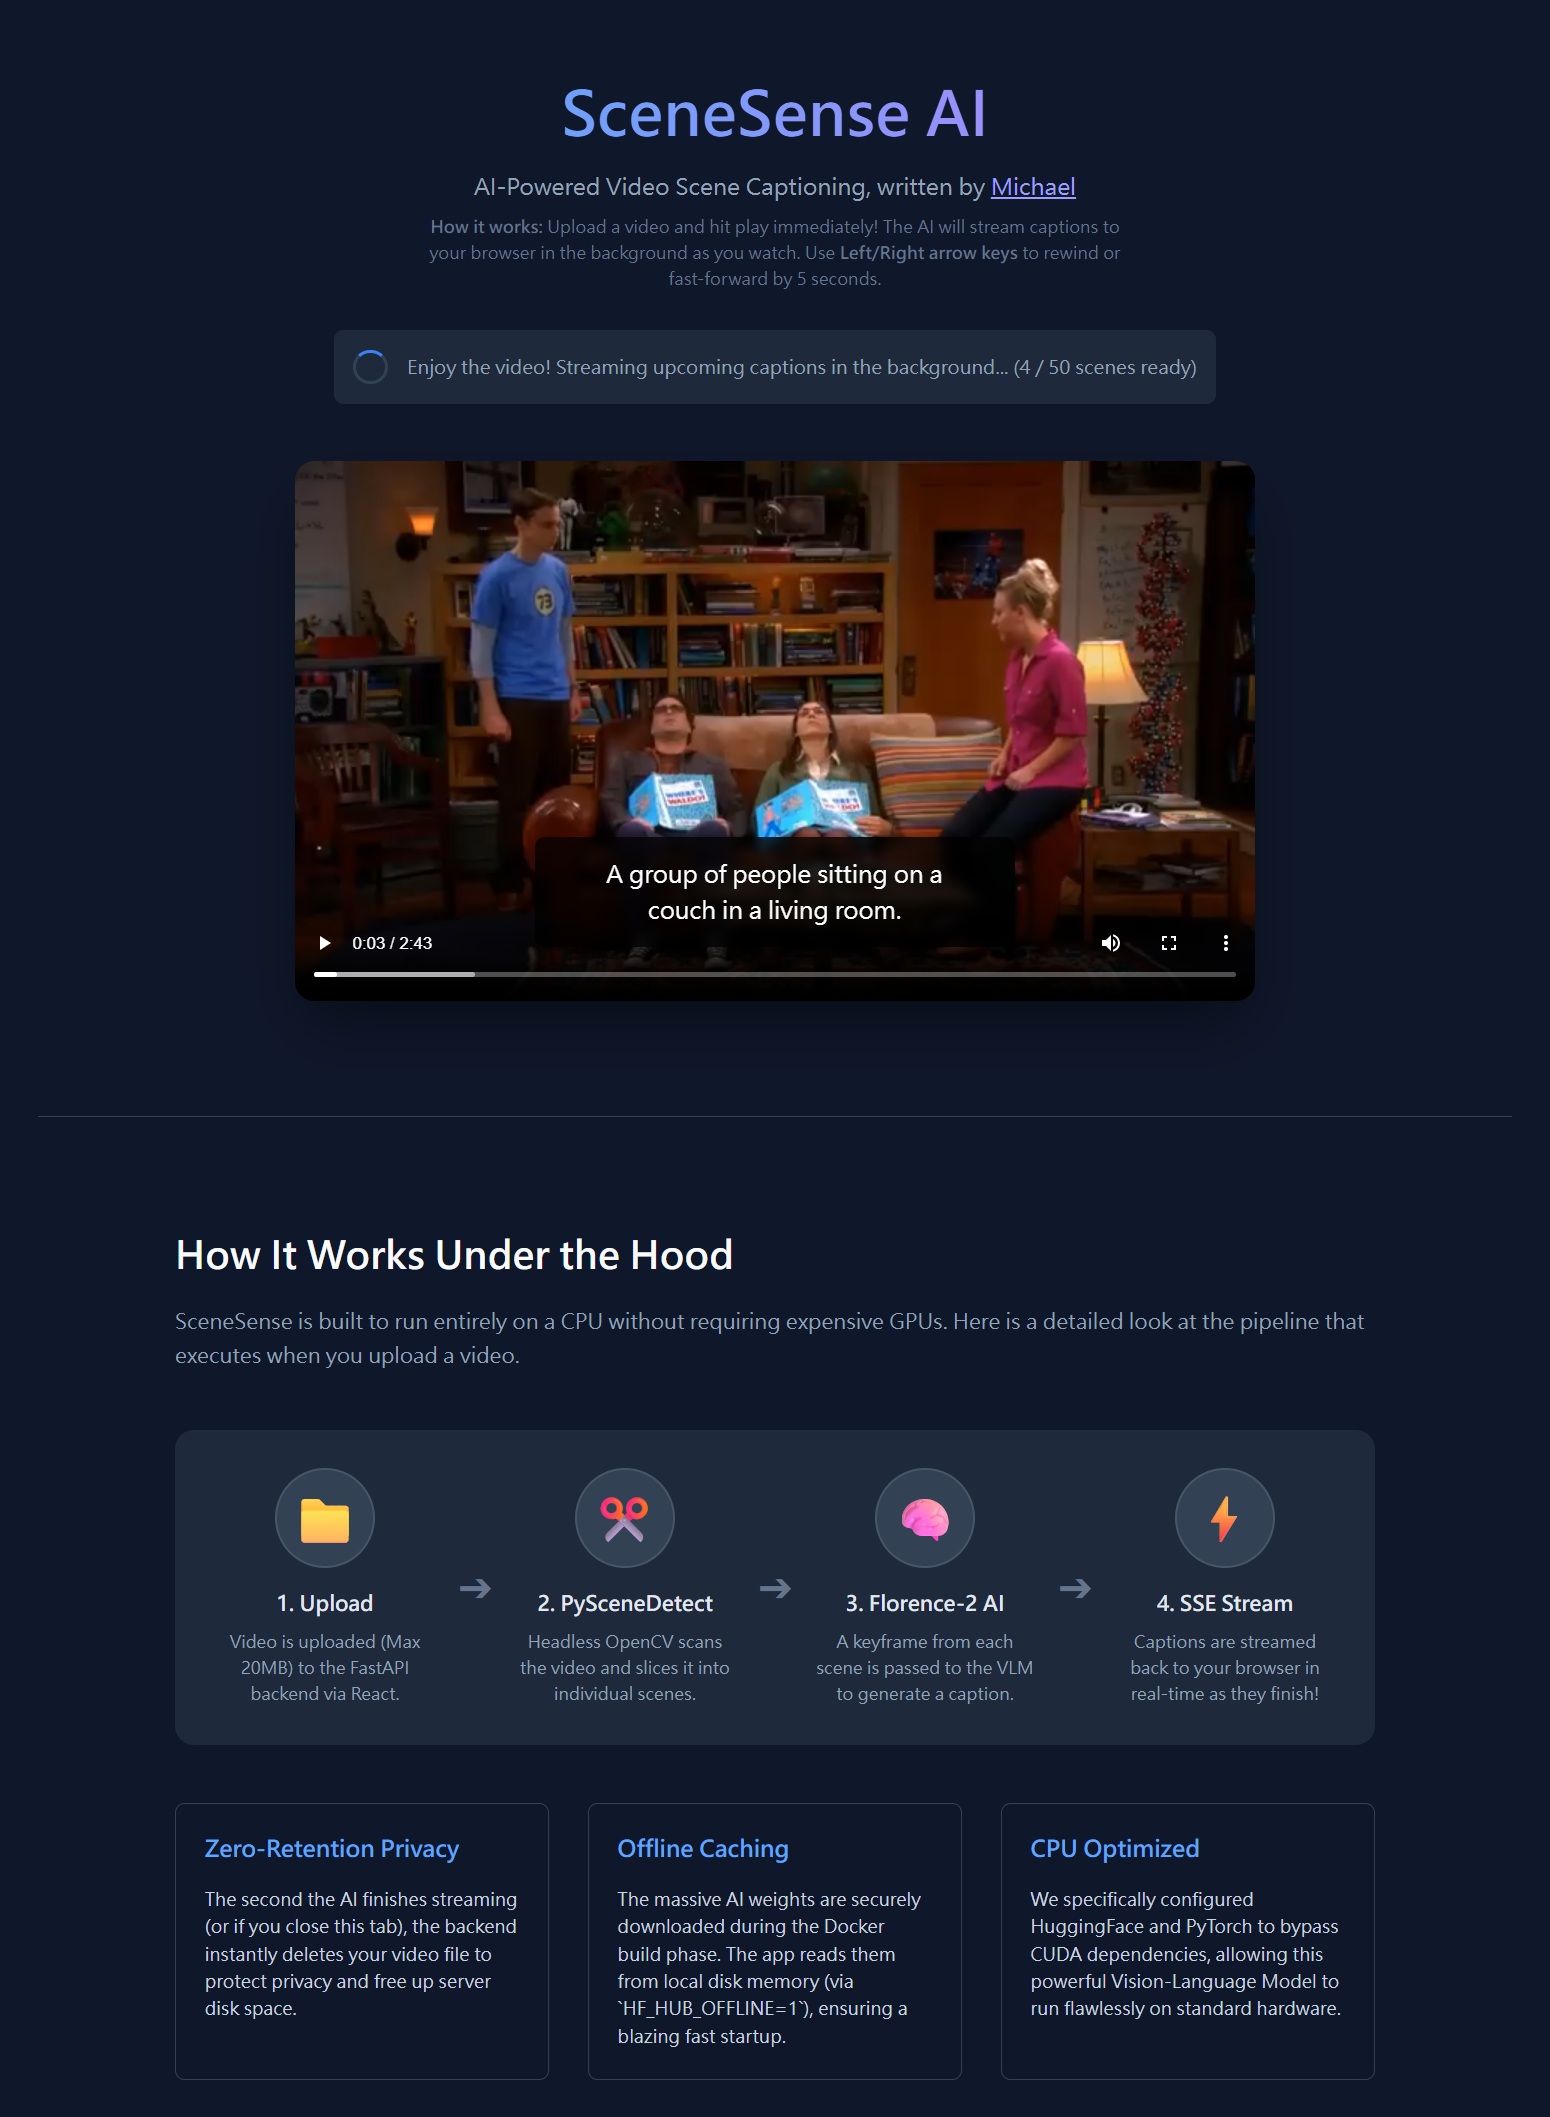
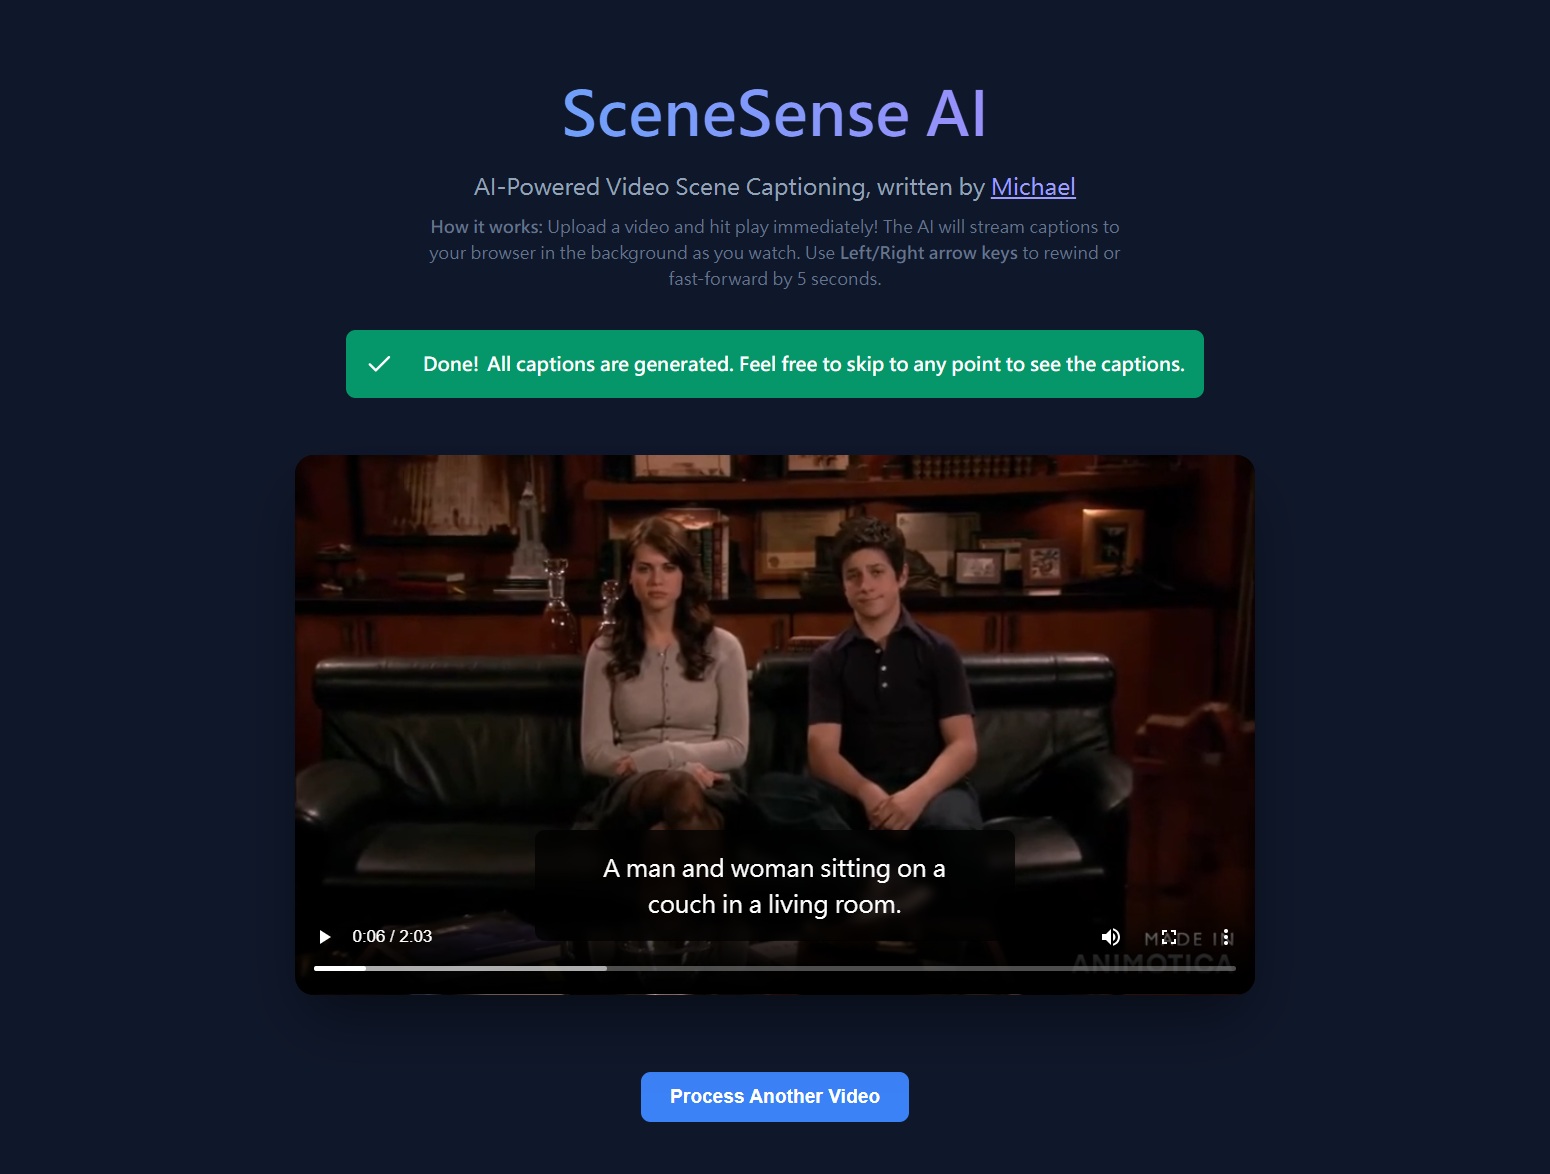
I wrote an AI-powered video scene captioning app all by myself. Here's a demo:Here's the App's UI:
Overview
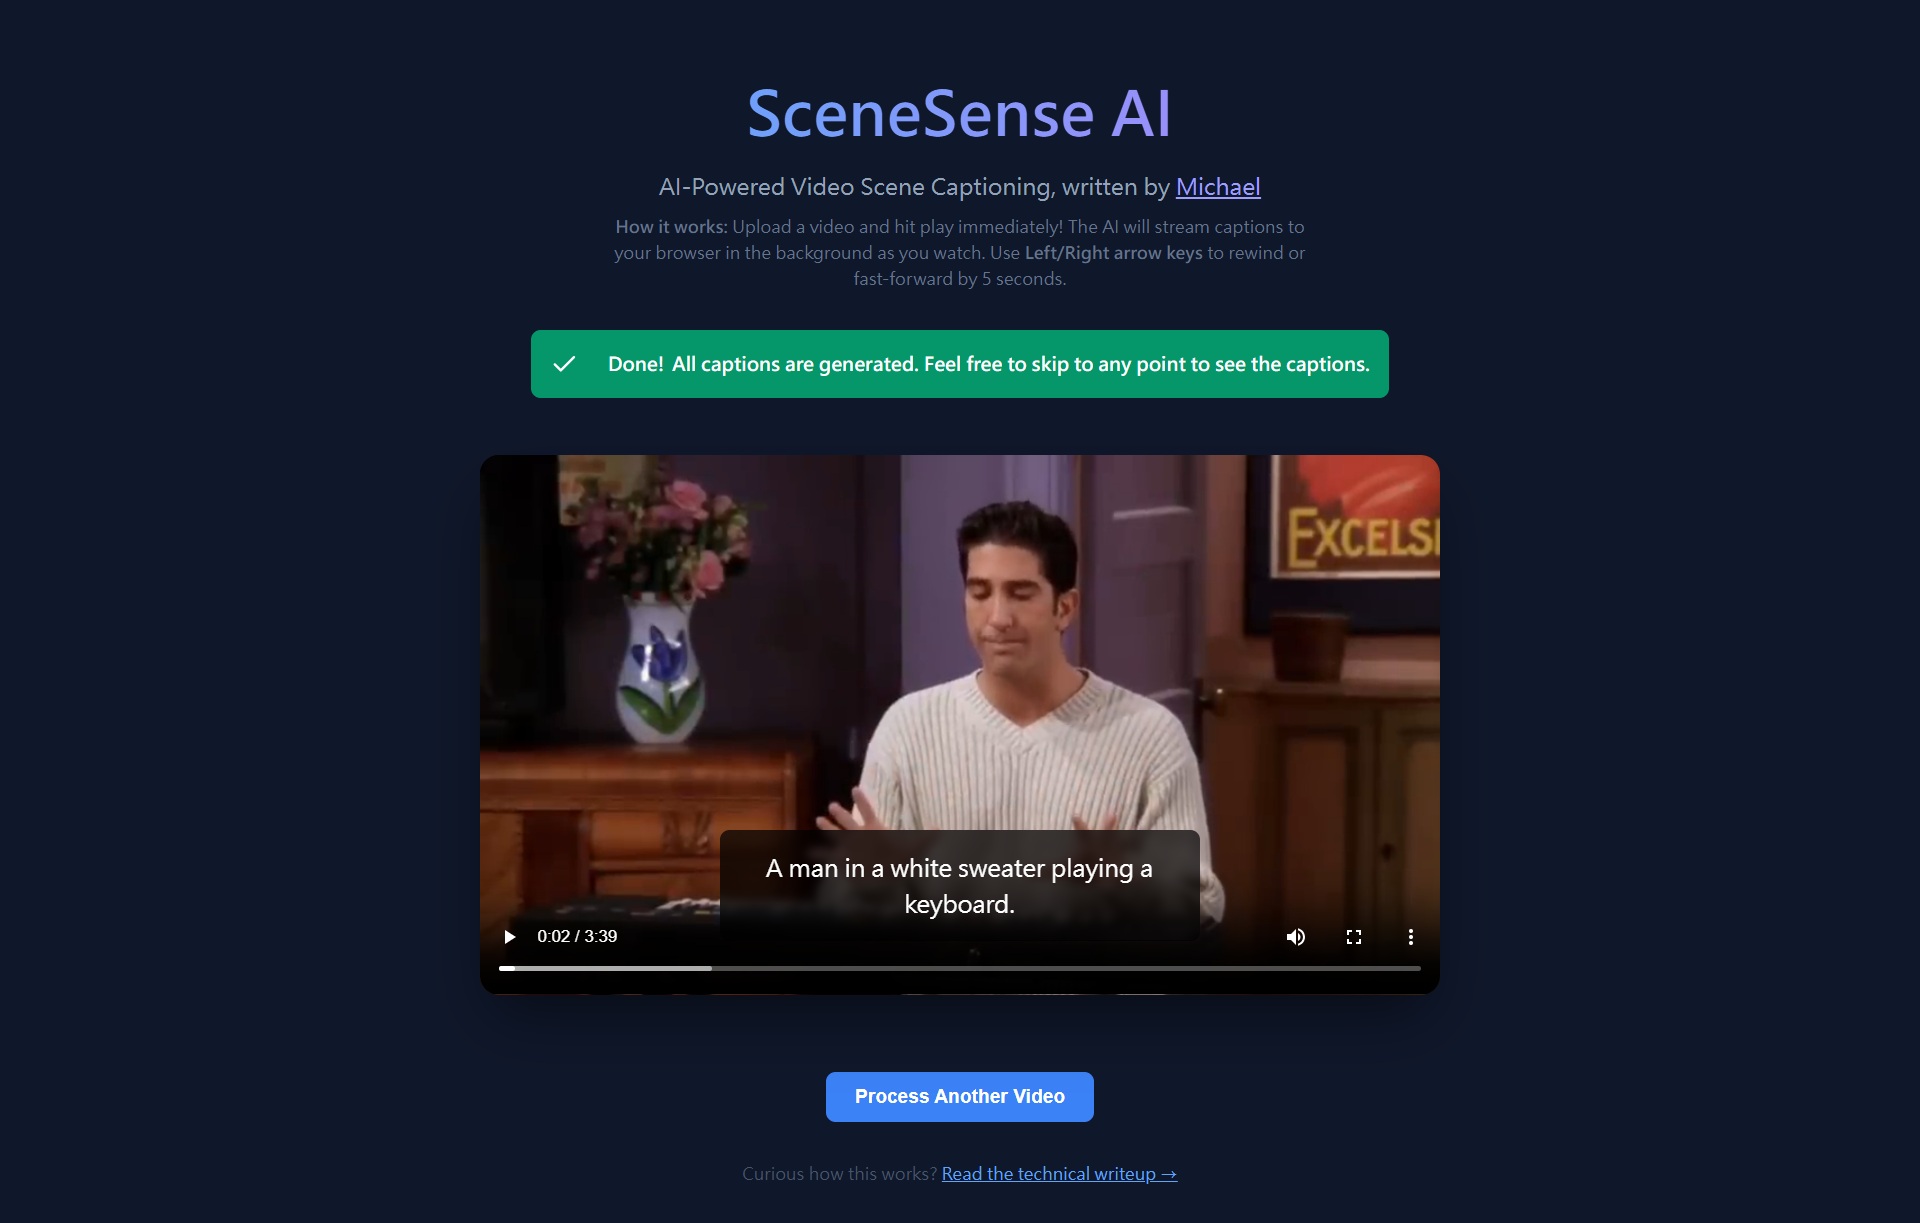
SceneSense AI, created by Michael Wen, is a web application that automatically generates AI captions for every scene in a video. You upload a video, and while you watch it, captions appear in real-time powered by a Vision-Language Model (VLM) running entirely on your CPU — no GPU or cloud API required.The key design goal is zero waiting: the video starts playing as soon as the first scene is captioned, and further captions are streamed to your browser one-by-one in the background as you watch.
System Architecture
The Three Main Components
- Frontend — A React + Vite single-page app served by Nginx. Handles video playback, caption overlay, and live progress tracking.
- Backend — A Python FastAPI server. Handles file uploads, scene detection, AI inference, and streams results back.
- AI Model — Microsoft's Florence-2-Base, a 0.23B parameter Vision-Language Model running on CPU via PyTorch.
How They Communicate
The frontend and backend run as separate Docker containers and communicate over HTTP.- The frontend is served on port 80 (standard web port).
- The backend FastAPI server listens on port 8000.
- Nginx is configured to proxy /api requests to the backend, so the browser only talks to one origin.
  Browser (port 80)
       |
  [Nginx Container]
       |
       |--- serves static React app (HTML/CSS/JS)
       |--- proxies /upload, /samples, /process_sample --> [FastAPI Container:8000]
Step 1 — Video Upload
What happens when you click "Choose Video"?
The React UI reads the selected file directly in your browser using the File API. Before anything is sent over the network, the frontend checks:- Is the file size under 20MB? If not, an alert is shown immediately and the upload is cancelled.
- Creates a temporary local Object URL (e.g.
blob:http://localhost/abc-123) and displays the video in the player immediately — so you can see your video without waiting for it to upload. - Sends the file bytes to the backend using a standard multipart/form-data POST request to
/upload.
Where is the file stored on the server?
The backend saves the incoming bytes to a temporary file in the Linux /tmp directory inside the Docker container:
  /tmp/3f8a1c2d-9b4e-4a7f-8e6d-1f2a3b4c5d6e_my-video.mp4
       ^--- random UUID ensures no two uploads ever collide
This file is completely isolated inside the container and never touches your host machine's disk.
Zero-Retention: When is the file deleted?
The backend uses a Python try...finally block wrapping the entire processing pipeline. This guarantees the file is deleted no matter what happens:- Normal case: deleted the moment the last caption is streamed to the browser.
- User closes the tab or refreshes mid-upload: the HTTP connection drops, the generator exits, and
finallyruns and deletes the file. - Backend crashes: Docker's container restart means the entire /tmp directory is wiped.
  async def generate():
      try:
          yield ...  # stream captions
      finally:
          os.remove(video_path)  # always runs, no matter what
Step 2 — Scene Detection (PySceneDetect)
What is a "scene"?
A scene is a continuous stretch of video where the visual content is roughly the same — for example, a single camera shot, an interview clip, or a landscape view. When the video cuts to a new camera angle or location, that is a scene change.How does PySceneDetect find scene changes?
It uses a technique called Content Detection. It reads the video frame-by-frame using OpenCV and computes the difference in colour histogram between consecutive frames. If the difference exceeds a threshold (we use 27.0), it marks that frame as a scene cut.Frame 1: [ mostly blue sky, histogram A ] Frame 2: [ mostly blue sky, histogram B ] diff = 1.2 -- same scene ... Frame 90: [ indoor living room, histogram C ] diff = 84.3 -- SCENE CUT detected!This runs entirely on CPU using headless OpenCV (no display required), making it very fast — typically under 5 seconds for a short video.
What is a "keyframe"?
Once the scene boundaries are known, the backend picks one single representative frame from the exact middle of each scene. This is the keyframe.
  Scene 1: frames 0  -> 89   (3 seconds at 30fps)
           keyframe = frame 44  (the middle)

  Scene 2: frames 90 -> 209  (4 seconds at 30fps)
           keyframe = frame 149 (the middle)
Only these keyframe images are sent to the AI — not the entire video — which keeps CPU usage low.
Step 3 — AI Captioning (Florence-2)
What model is used?
Microsoft Florence-2-Base — a 0.23 billion parameter Vision-Language Model. It accepts an image and a text task prompt and returns a text response. We use the<CAPTION> task prompt, which tells the model to generate a short,
plain-English description of the image.
  Input:  <image of a person cooking in a kitchen> + "<CAPTION>"
  Output: "A person is cooking food in a modern kitchen."
How does the model run on CPU?
By default, Florence-2 tries to importflash_attn, a GPU-only CUDA library,
and crashes immediately if no GPU is available. We work around this by monkey-patching
the HuggingFace import loader at startup:
  def fixed_get_imports(filename):
      imports = get_imports(filename)
      if "flash_attn" in imports:
          imports.remove("flash_attn")  # strip the GPU-only requirement
      return imports

  with patch("transformers.dynamic_module_utils.get_imports", fixed_get_imports):
      model = AutoModelForCausalLM.from_pretrained(model_id, ...)
This tells PyTorch to run inference on the cpu device instead of cuda.
Each caption takes roughly 5–15 seconds per scene on a typical CPU.
Is the model downloaded every time Docker starts?
No. The model weights (~900MB) are downloaded once during the Docker build process using a custom script calleddownload_model.py. The weights land in HuggingFace's
default cache directory inside the builder stage:
/root/.cache/huggingface/hub/models--microsoft--Florence-2-base/Our Dockerfile then explicitly copies this cache into the final runtime image:
COPY --from=builder /root/.cache/huggingface /root/.cache/huggingfaceAnd the container is configured with:
ENV HF_HUB_OFFLINE=1This tells HuggingFace to never contact the internet — always read from the local cache. So even if you run the container with no internet connection, it works perfectly.
Step 4 — Real-Time Streaming (SSE / NDJSON)
What is the problem with waiting?
A 60-scene video would take the AI roughly 10 minutes to process on CPU. If we waited for all captions before showing the video, the user experience would be terrible.How do we stream results in real time?
The backend uses FastAPI's StreamingResponse with a Python async generator. Instead of collecting all captions and sending one big JSON response, it sends one small JSON object per scene, the instant each caption is ready:
  {"status": "detecting_scenes"}
  {"status": "captioning", "total_scenes": 57}
  {"status": "scene_ready", "start_time": 0.0, "end_time": 3.2, "caption": "A dog running in a park."}
  {"status": "scene_ready", "start_time": 3.2, "end_time": 7.8, "caption": "A child throws a frisbee."}
  ...
Each line is a valid JSON object separated by a newline — this format is called NDJSON
(Newline-Delimited JSON). The HTTP response stays open the whole time, acting like a live feed.
How does the frontend read the stream?
The React frontend uses the browser's ReadableStream API to consume the response body chunk-by-chunk without waiting for it to finish:
  const reader = response.body.getReader()
  while (true) {
    const { value, done } = await reader.read()
    if (done) break
    // parse each JSON line as it arrives
    // update the captions list in React state
  }
Each time a scene_ready event arrives, the frontend updates its scene list.
The progress bar (4 / 57 scenes ready) and the video caption overlay both react
to this live state update instantly.
Step 5 — Buffered Video Playback
What is the buffering problem?
The video plays at real-time speed, but the AI generates captions slower than real-time on CPU. Without any control, the video would race ahead of the AI and show uncaptioned scenes.How is playback synchronized with captions?
The frontend tracks maxProcessedTime — the end timestamp of the latest scene that has been captioned. The video player listens to the HTML5timeupdate event (which fires ~4x per second):
  onTimeUpdate = () => {
    if (currentTime >= maxProcessedTime) {
      video.pause()   // stop — AI hasn't caught up yet
      setIsBuffering(true)
    }
  }
When a new caption arrives from the stream, maxProcessedTime is updated. A useEffect
then checks if the video can safely resume:
  useEffect(() => {
    if (isBuffering && currentTime < maxProcessedTime) {
      video.play()
      setIsBuffering(false)
    }
  }, [maxProcessedTime])
This creates a seamless "YouTube-style buffering" experience. The video automatically plays as far
as captions exist, pauses to wait for more, then resumes automatically — all without user interaction.
Step 6 — Caption Overlay
How are captions displayed at the right time?
Each caption object has astart_time and end_time in seconds.
On every timeupdate event, the frontend scans the scene list to find which scene
contains the current playback position:
  const currentScene = scenes.find(
    s => currentTime >= s.start_time && currentTime <= s.end_time)
If a match is found, that caption is displayed in a semi-transparent overlay at the bottom
of the video, with a smooth CSS fade-in animation. If no match is found (e.g., the video is
between two scenes), the overlay disappears cleanly.
Sample Videos
How do sample videos work?
The sample-video folder from your host machine is mounted into both containers as a read-only volume via Docker Compose:
  volumes:
    - ./sample-video:/app/sample-video:ro        # backend reads files for AI processing
    - ./sample-video:/usr/share/nginx/html/sample-video:ro  # frontend serves files for playback
When the app loads, it calls GET /samples which returns the list of .mp4
files in that folder. Clicking a sample calls POST /process_sample with the filename —
the backend reads the file directly from the mounted path, no upload needed.No Docker rebuild is needed to add or remove sample videos — just drop files into the
sample-video folder and refresh your browser.
Docker Build — Two-Stage Architecture
Why two stages?
Downloading the ~900MB AI model weights during the build would inflate the final image unnecessarily if we did not handle it carefully. We use a multi-stage Dockerfile:- Stage 1 (builder): Installs all Python packages, downloads the Florence-2 weights into HuggingFace cache, and patches the imports.
- Stage 2 (runtime): Starts fresh, copies only the
/opt/venv(Python packages) and/root/.cache/huggingface(model weights) from the builder. No build tools or compilers bloat the final image.
  FROM python:3.11-slim AS builder
  RUN pip install ... && python download_model.py

  FROM python:3.11-slim AS runtime
  COPY --from=builder /opt/venv /opt/venv
  COPY --from=builder /root/.cache/huggingface /root/.cache/huggingface
  COPY app.py .
  CMD ["uvicorn", "app:app", ...]
Arrow Key Navigation
While the video is playing, you can press the Left Arrow key to rewind 5 seconds or the Right Arrow key to skip forward 5 seconds. This is implemented via akeydown event listener attached to the window in a React useEffect.
Technology Summary
- Frontend: React 18, Vite 6, Vanilla CSS, served by Nginx Alpine
- Backend: Python 3.11, FastAPI, Uvicorn, PySceneDetect, OpenCV Headless
- AI Model: Microsoft Florence-2-Base via HuggingFace Transformers + PyTorch (CPU only)
- Streaming Protocol: NDJSON over HTTP keep-alive (Server-Sent Events pattern)
- Containerisation: Docker multi-stage build + Docker Compose
- Privacy: Zero-retention — uploaded videos are deleted as soon as processing finishes
- Offline ready: HF_HUB_OFFLINE=1 ensures no network calls after Docker build
Any comments? Feel free to participate below in the Facebook comment section.